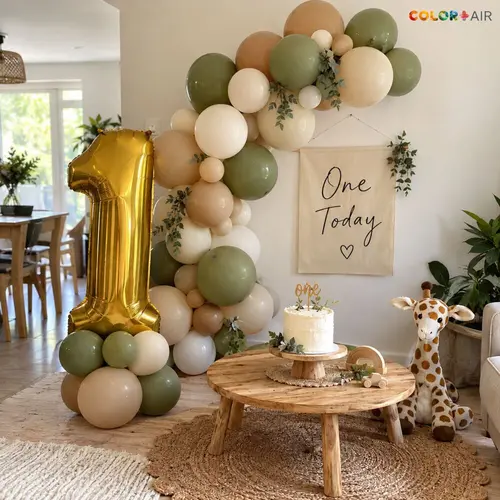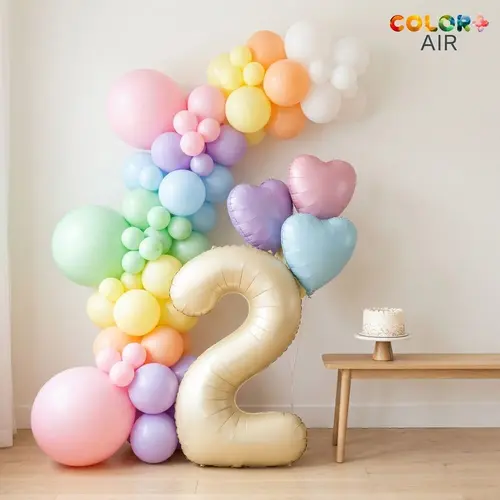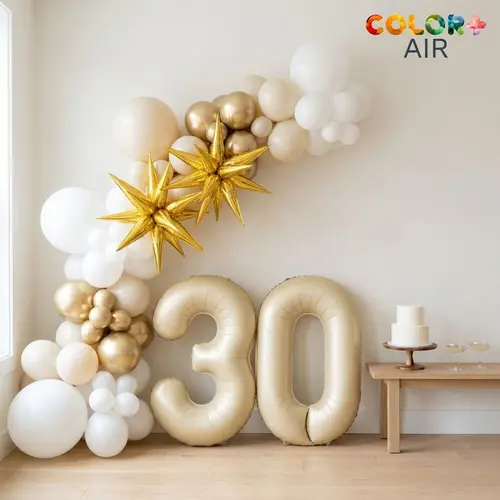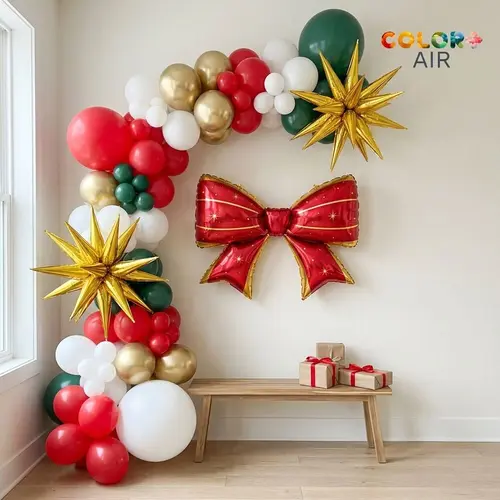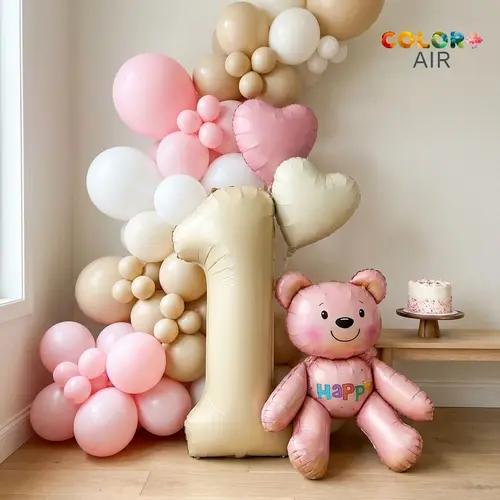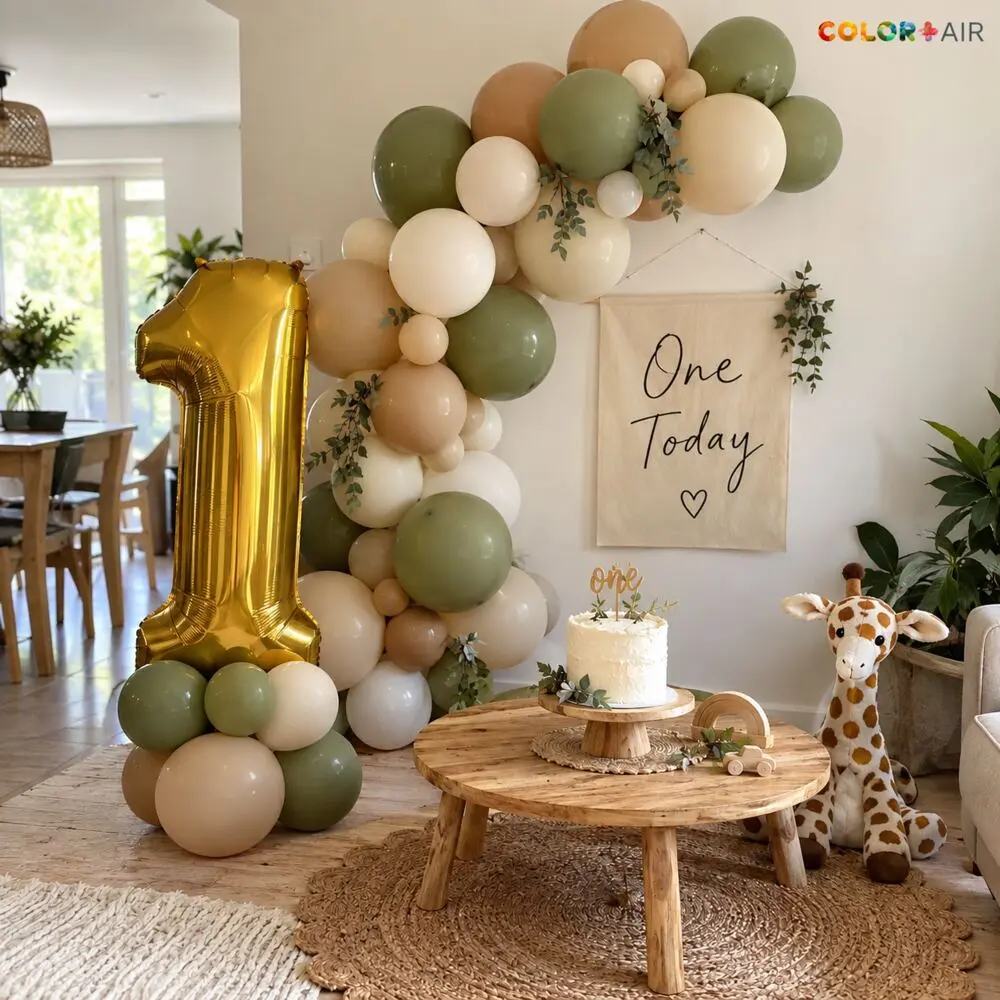
A balloon arch looks like something you'd pay a decorator hundreds for, but the "organic" style (mixed sizes, clustered on a strip) is surprisingly easy to build yourself. We pack these kits every day in Jaipur, and the same few steps work every time, whether it's a 5 foot garland over a cake table or a 15 foot arch around a doorway.
Here's exactly how to do it, how long it takes and what usually goes wrong.
What you need
- Latex balloons in three or four sizes. Mixing 10″, 12″ and 18″ balloons is what makes an arch look full and professional instead of like a row of beads.
- A balloon garland strip. A plastic tape with holes. You push balloon knots through the holes to lock them in place.
- Glue dots for filling gaps and sticking on extra pieces.
- Hooks or removable strips to hang it.
- A balloon pump. A hand pump works, but an electric one (around $15 to $25) turns a two hour job into a one hour job.
- Optional extras: foil numbers, letters, bows or shapes for the focal point.
Not sure how many balloons to buy? Our guide on how many balloons you need for a balloon arch has a chart by length.
How long does it take?
For a 5 foot garland, allow about an hour with an electric pump. A 10 foot arch takes roughly 1.5 to 2 hours, and 15 feet is a good afternoon job for two people. Inflating is most of the time, so put on music and get a helper.
Timing tip: an air-filled garland indoors usually looks fresh for several days, so you can build it the night before. Outdoors, sun and heat fade and pop latex quickly, so set up as close to party time as you can.
Step 1: Inflate your balloons (to about 90%)
Fill each latex balloon until it's round but not stretched into a pear shape, then tie it off. Slightly under-filled balloons look rounder, sit together better and pop far less. Sort them into piles by size so you can grab the right one quickly.
For the classic organic look, inflate a few of your 10″ balloons to different sizes (some small, some medium). That variety is the secret most beginners miss.
Step 2: Make clusters on the strip
Take two balloons and push their knots through two neighbouring holes in the strip. Add two more just next to them and twist the pairs together so you get a cluster of four. Keep working down the strip, alternating colours and sizes so no two identical balloons sit side by side.
Leave about 10 cm (4 inches) of empty strip at each end. You'll use it for hanging.
Step 3: Hang it and shape the curve
Put your hooks where you want the garland to start and end, then hang the strip. Now gently twist the clusters to shape it. A garland looks best in a soft curve or a diagonal sweep rather than a perfectly straight line.
- Over a doorway: hooks on each side, with the garland running up and over.
- Behind a cake or gift table: start low on one side and sweep up and across the wall.
- Around a mirror or sign: wrap it around one corner and let it trail down.
Step 4: Fill the gaps
Step back and look for holes. Fill them with your small 10″ balloons using glue dots. This is the step that takes a garland from "nice" to "wow", so take your time. It also hides the strip completely.
Step 5: Add the star pieces
Foil numbers, letters and bows go on last. Most foils self-seal: inflate them through the valve with a straw or pump and they close on their own. Remember that air-filled foils don't float. Stand a giant number on the floor in front of the garland, or hang foils from the wall with ribbon or glue dots. If you want them floating, a party store can fill them with helium.
Common mistakes (and how to avoid them)
- Over-inflating. Tight balloons pop, look shiny and stretched, and won't cluster neatly.
- Only one balloon size. Same-size balloons give a "caterpillar" look. Mix at least three sizes.
- Building it in direct sun. Latex fades and bursts in heat. Shade or indoors is best.
- Not enough balloons. A thin garland shows the strip. It's better to go a little shorter and fuller.
- Hanging too late. Hang it before filling gaps. Garlands settle once they're up.
The easy way: a kit with everything matched
The hardest part of a DIY arch is usually choosing colours that go together and buying the right number of each size. That's why we make our kits: every ColorPlusAir party kit has the balloons already colour-matched and counted for 5, 10 or 15 feet, plus the strip, glue dots, hooks, ribbon and a printed setup card. Many also include a giant number or a bow as the centrepiece.
Pick a theme, choose your length, and you'll have everything for the backdrop in one box, with free tracked shipping.
Shop balloon arch kitsWant the short version to keep on your phone while you build? Our setup guide has the same steps on one page.
WARNING: CHOKING HAZARD
Children under 8 yrs. can choke or suffocate on uninflated or broken balloons. Adult supervision required. Keep uninflated balloons from children. Discard broken balloons at once.